Advanced tutorials

Master the power of Jig with advanced tutorials.

This icon list section is only visible in Designer and Editor View. On live page you will not see this icon list.

icon-share-jig.svg
icon-share-jig.svg
icon-shareplay.svg
icon-shareplay.svg
icon-person.svg
icon-person.svg
icon-person-slash.svg
icon-join-presentation.svg
icon-gallery.svg
icon-gallery.svg
icon-ellipsis.svg
icon-ellipsis.svg
icon-close.svg
icon-close.svg
icon-clear-annotation.svg
icon-audio-avp.svg
icon-audio-avp.svg
icon-attachments.svg
icon-arrow-forward.svg
icon-arrow-backward.svg
icon-annotation.svg
icon-annotation.svg
icon-swatch-texture.svg
icon-swatch-texture-delete.svg
icon-reset.svg
icon-reset.svg
icon-library.svg
icon-library.svg
icon-check.svg
icon-check.svg
icon-team-black.svg
icon-team-black.svg
icon-explode.svg
icon-explode.svg
icon-visible.svg
icon-visible.svg
icon-view.svg
icon-view.svg
icon-video.svg
icon-video.svg
icon-unlocked.svg
icon-unlocked.svg
icon-unlock.svg
icon-unlock.svg
icon-undo.svg
icon-undo.svg
icon-target.svg
icon-target.svg
icon-sub-object-mode.svg
icon-stop.svg
icon-stop.svg
icon-start-recording.svg
icon-select-all.svg
icon-select-all.svg
icon-scale.svg
icon-scale.svg
icon-save.svg
icon-save.svg
icon-rotate.svg
icon-rotate.svg
icon-rotate-blue.svg
icon-remove.svg
icon-remove.svg
icon-redo.svg
icon-redo.svg
icon-record.svg
icon-record.svg
Icon previous.svg
Icon previous.svg
icon-previous-step.svg
icon-play.svg
icon-play.svg
icon-pause.svg
icon-pause.svg
icon-paste.svg
icon-paste.svg
icon-ok.svg
icon-ok.svg
icon-offline.svg
icon-offline.svg
icon-object-mode.svg
Icon-next.svg
Icon-next.svg
icon-next-step.svg
icon-next-step.svg
icon-multiselect.svg
icon-move.svg
icon-move.svg
icon-more.svg
icon-more.svg
icon-more-settings.svg
icon-mic-on.svg
icon-mic-on.svg
icon-mic-off.svg
icon-mic-off.svg
icon-locked.svg
icon-locked.svg
icon-lock.svg
icon-lock.svg
icon-lasso-select.svg
icon-lasso-deselect.svg
icon-label.svg
icon-label.svg
icon-knowledge.svg
icon-knowledge.svg
icon-invisible.svg
icon-invisible.svg
icon-information.svg
icon-home.svg
icon-home.svg
icon-flatmode.png
icon-flatmode.png
icon-duplicate.svg
icon-duplicate.svg
icon-dropper.svg
icon-dropper.svg
icon-delete.svg
icon-delete.svg
icon-delete-audio.svg
icon-copy.svg
icon-copy.svg
icon-colour.svg
icon-colour.svg
icon-camera.png
icon-camera.png
icon-back.svg
icon-back.svg
icon-audio.svg
icon-audio.svg
icon-ar.svg
icon-ar.svg
icon-all.svg
icon-all.svg
icon-all-previous.svg
icon-all-after.svg
icon-all-after.svg
icon-add-user.svg
icon-add-user.svg
icon-add-steps.svg
icon-add-steps.svg
icon-add-object.svg
icon-add-object.svg
icon-3d-object-blue.svg
icon-3d-icon.svg
icon-3d-icon.svg

Guide to exporting simplified Autodesk Inventor files

Note:
You can download the PDF version of this guide to share with your team offline.

This guide is aimed at Autodesk Inventor users who frequently work with complex assemblies and want to reduce the number of objects, mesh size, and triangle count of 3D models in their Jigs.
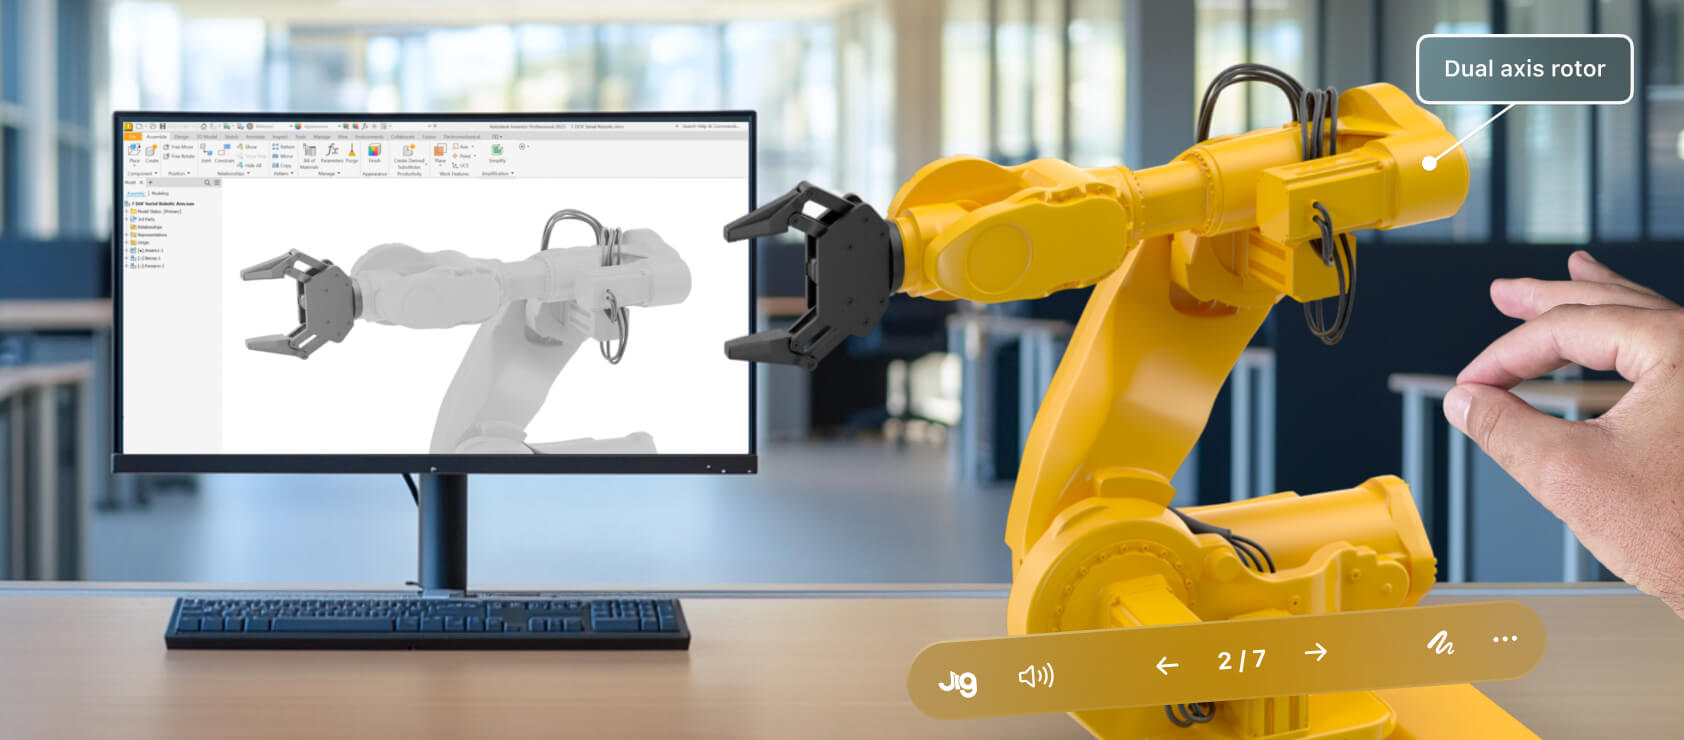
Autodesk Inventor is a powerful CAD software that provides professional-grade tools for 3D modeling and design.

This guide demonstrates how to:

  • Reduce the size of your 3D model mesh polygons and sub-objects
  • Organize your 3D models into logical assemblies for simplification
  • Measure your improved performance in JigSpace.

Export formats

For best results, we recommend you export all Autodesk Inventor assemblies as a STEP format file for importing into Jig. These typically have the extension .step or .stp. and have the following configuration options:

Recommended: STEP AP214 (supports colors and properties).

Alternative: STEP AP203 (creates smaller objects, excludes color properties).

Not Recommended: STEP AP242 (includes unnecessary data for 3D visualization and augmented reality, and will reduces performance).

Simplify tool

We recommend using the Inventor Simplify tool to reduce the amount of geometry to only what is needed before importing into JigSpace.

Note:
This tool can only be used with assemblies. If you need to simplify a single part, follow our guide further below.

Export simplified assembly

Follow these instructions to export an optimized and simplifed assembly for importing into JigSpace.

1. In Inventor, navigate to the Assemble tab > Simplify tool

2. By default, the last preset is set. Change this to ‘no preset’ to begin with

3. Check the box to Exclude parts by size

4. Adjust the max. diagonal size. Depending on your model the size to exclude will vary. A preview of how many parts will be excluded is displayed below.

Try out different values to determine which will suit your needs more.
Click this button to visually see which parts are being excluded
See how many parts are being excluded here

Removing features

5. If you would like to remove more specific features as well as parts, you can do so by using the ‘remove features’ section to simplify further.

Select the feature to remove > in the dropdown menu > select range > specify the range

Tip: press the highlight button to view all the features that are being removed.

Output

6. Once satisfied with all of the parameters of both part size, and features, click OK and Inventor will remove everything specified.

By default it will output it as a separate part file, which we recommend to keep it this way for importing into JigSpace.

7. From there nothing further needs to be done in Inventor as the model will be exported as a .step file. Navigate to file > export > CAD formats

8. Select .step file and ensure that it is a step214 format (in the options).

Select .step file and ensure it uses STEP AP214 format.

9. Finally, import the files into JigSpace to start creating your 3D presentation.

Export simplified single parts

The Simplify tool in Autodesk Inventor can only be used on assemblies, so if you have a complex single part that you’d like to simplify in Inventor, follow this process below.

  1. Create a new assembly file.
  2. Import the single part into the assembly.
  3. Follow the assembly simplification steps to above de-feature (see above)
  4. Export the simplified part as a STEP file.
Note:
You can download the PDF version of this guide to share with your team offline.

Measuring performance

When uploading 3D models to your Jigs, the performance indicator displays a read out of your current triangle count and number of meshes (or sub-objects). This helps you determine when to optimize or simplify the 3D models in your Jig. You may find initially that some trial and error is required to find the right balance between lower objects and triangle count, and model quality.

For best results we recommend:

  • Keep models below 200,000 triangles and 50 sub-objects.
  • Enable JigSpace’s automatic optimization for best results.
JigSpace performance indicator showing number of triangles and sub object meshes contained in the 3D presentation

Note:
This guide was prepared in collaboration with Design Technology Company (DTCo). DTCo provides a low risk, easy to engage, scalability option for mechanical design teams.
Sam Granleese
Sam Granleese
Head of Product
Explore all case studies